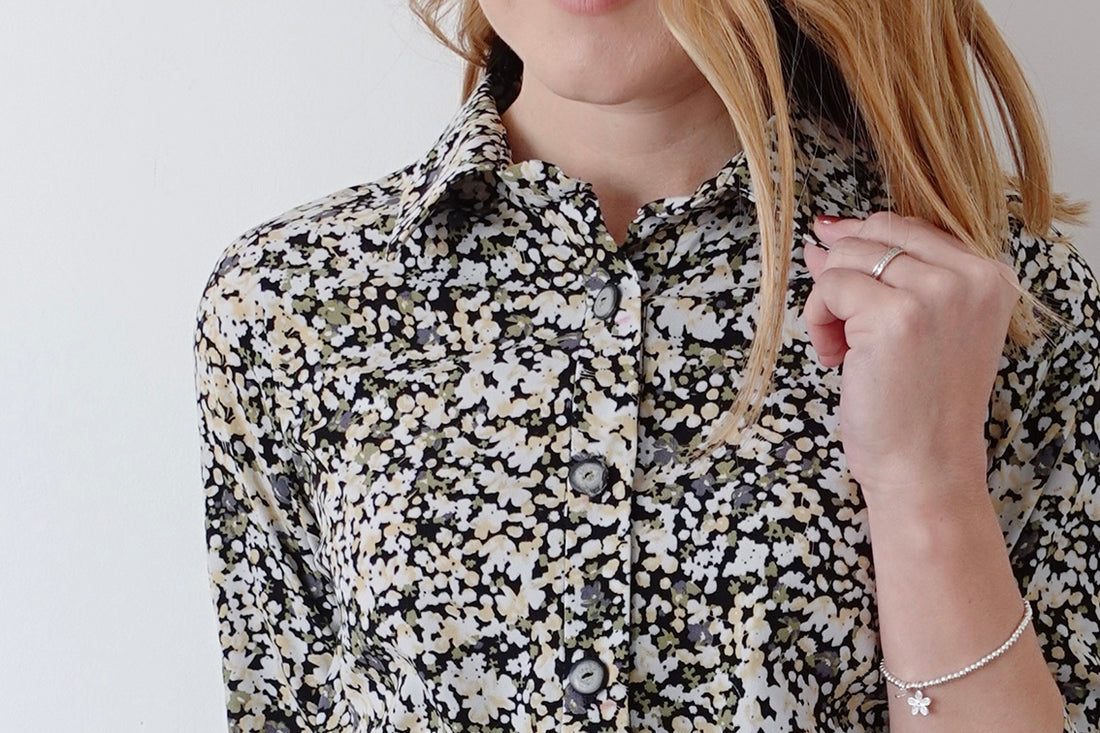
Attaching a Collar on a Stand
There is something quite satisfying about sewing a collar. The process needs to be accurate and forces you to slow down and take your time with this part of your project, sewing slowly and getting those lovely crisp points. If you’ve never sewn a collar on a stand before, don’t be nervous, it isn’t as scary as you might think and once you’ve mastered the technique a whole host of new sewing patterns will become accessible to you.
Sally Gauntlett shares her tips on successfully sewing a collar:
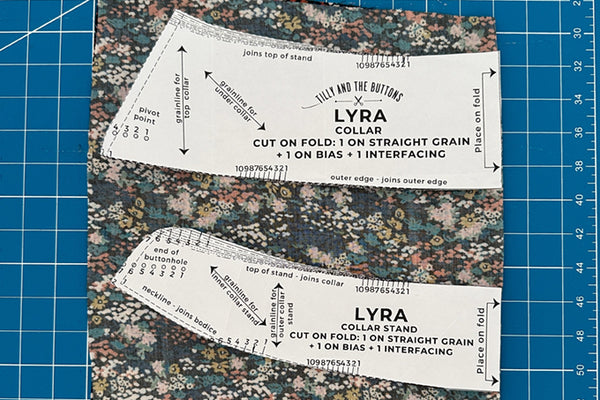
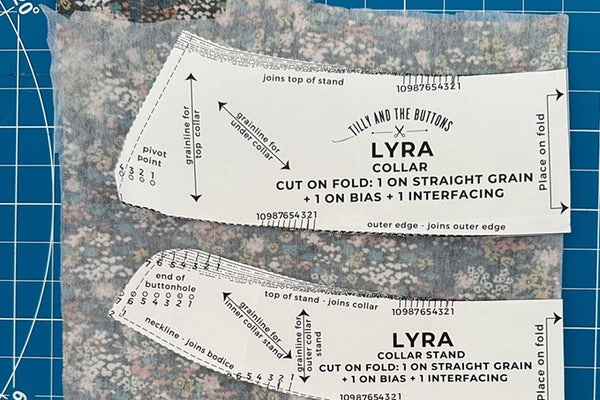
Cutting your collar pattern pieces
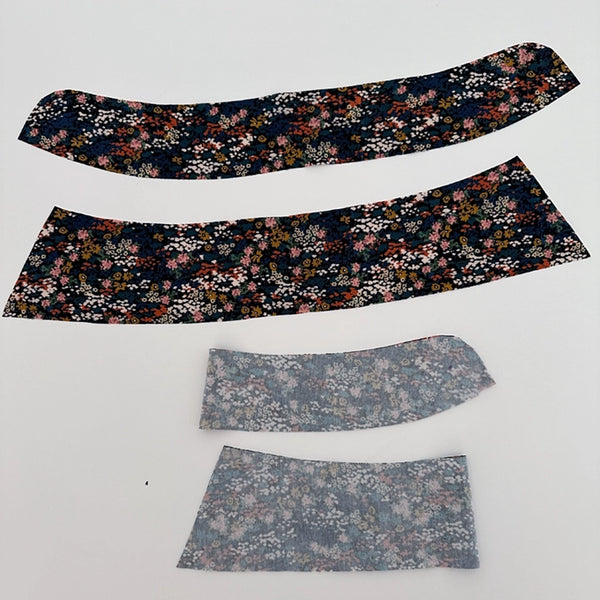
When it comes to sewing a collar on a stand, there are usually just two pattern pieces to consider. The main collar pattern piece (a piece that most resembles the classic collar shape), and the collar stand piece (a piece that allows us to get some height when the garment is worn rather than it just lying flat).
Both pattern pieces include various notches and circles which will help you attach the collar neatly to the rest of the garment that you’re sewing.

You will need to cut a pair of main collar pieces (a top collar and an under collar) and a pair of collar stand pieces (an inner and outer stand). One of each of your main collar and collar stand pattern pieces also need to be cut from interfacing. This will give the collar and stand more stability and longevity when worn.
NOTE: Sometimes, but not always, your pattern will ask you to cut an undercollar piece on the bias (at a 45-degree angle) this will allow it a little more stretch when we come to fit it.
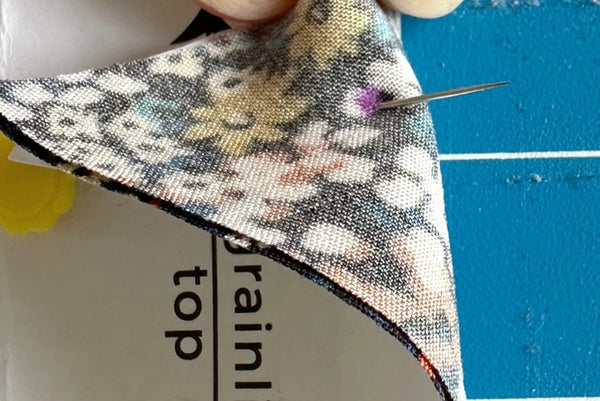
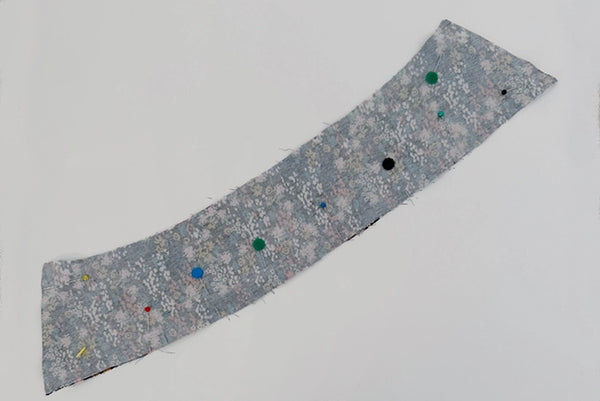
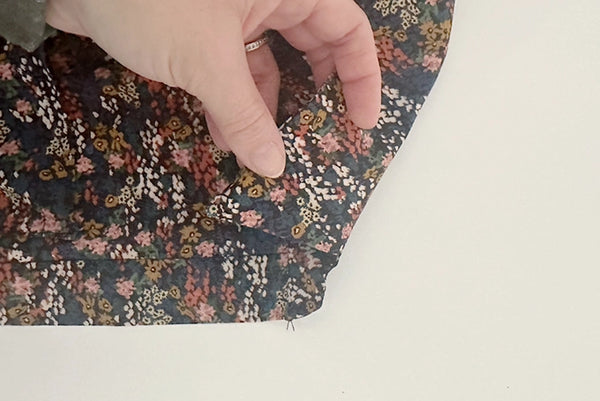
When cutting your fabric, it’s important to make sure you’re cutting on the correct grainline or fold and be sure to snip all notches and mark circles with an erasable fabric pen. I like marking circles by poking a pin through the circle on the paper and then marking the fabric on both sides at the point before removing the pin.
TIP: Block fusing
When it comes to interfacing your main and collar stand pattern pieces, I find it much easier to ‘block fuse’ the fabric before cutting. This means that rather than cutting a piece from fabric and interfacing and then fusing the interfacing afterwards, you cut a piece of fabric large enough to fit both pattern pieces onto.
Once cut, you can fuse interfacing to this larger piece of fabric before cutting out our pattern pieces. This can end up using a larger amount of fabric overall but it does make for a more accurate cut especially if you’re using a fabric with a lot of movement such as a viscose or rayon.
Be sure to snip your notches and mark your circles on your interfaced collar pieces too.
Let’s start with the main collar
1. Stay stitch along the long bottom edge on the inner (un-interfaced) collar stand piece as this can stretch out of shape easily. Stay stitch with a slightly longer stitch length from one end of the collar to the centre and then the other end to the centre at a seam allowance slightly shorter than your usual required amount.
2. Lay the interfaced top collar piece on top of your under-collar piece right sides together and pin leaving the top edge of the collar free for now. The circles marked when cutting indicates the pivot point for the corners of the collar. Sew all around your pinned edge at your required seam allowance pivoting at the circle by leaving your needle down when it meets the centre of the circle, raising the presser foot and turning the fabric around before stitching along the outer edge.
3. Trim your seam allowances, grading the interfaced layer slightly shorter than the under collar and snip across the sharp corner points. This will help to reduce bulk when turning through.

4. Turn your collar through to the right side and carefully press it flat. When pressing, use your finger to roll the seam towards the under collar to help keep the seam invisible. Use a point-turner or a blunt knitting needle to poke out those sharp corners. Use lots of steam in your iron to get a crisp finish.
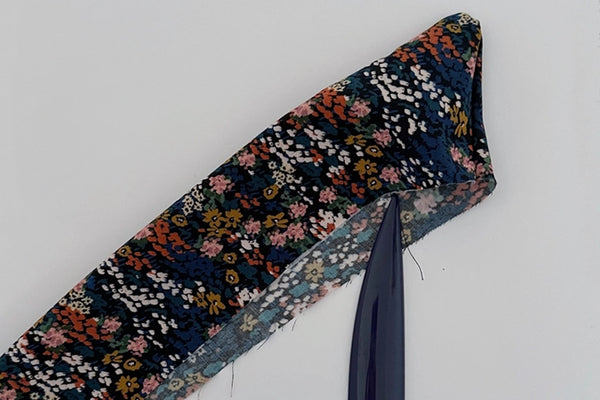
TIP: If your corners need a little help looking ‘pointy’ you can use the sharp end of a pin to carefully ease the fabric out and press again.

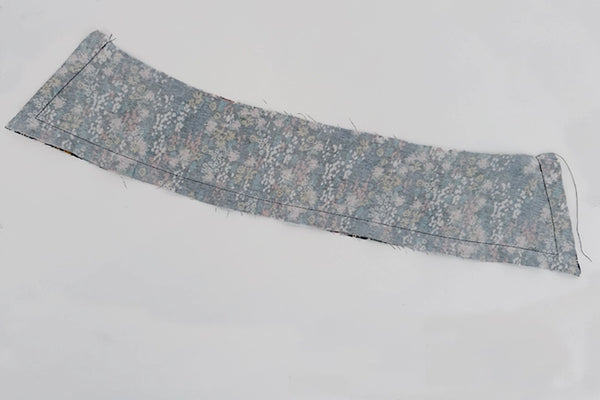
5. Baste the top (unstitched) edge of your collar together using a long stitch length at a slightly smaller seam allowance than your usual required amount.
Onto the collar stand
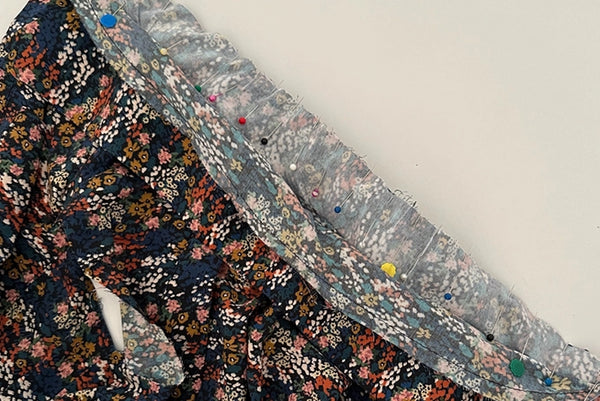
6. Take your inner collar stand (the interfaced piece) and pin with right sides together, along the top, basted edge of your main collar. The notches you snipped in our collar stand should line up with the ends of the main collar. The curved ends of the collar stand will not be stitched for now. Baste along the edge of the collar stand at a smaller seam allowance. Using a long stitch length.

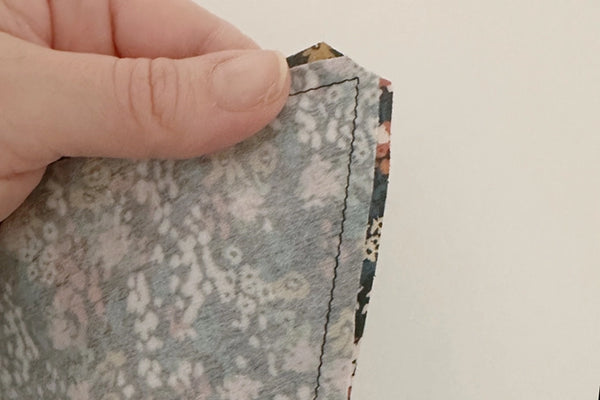
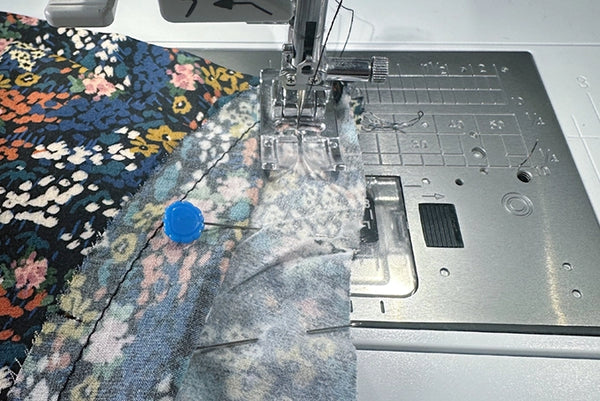
7. Lay your outer collar stand piece right sides together, over the top of your inner collar stand piece and pin together all around the edges. This time, you are going to pin the curved edges too. Your main collar will be sandwiched between your collar stand pieces.

Stitch together using your required seam allowance. Sew slowly around the curved edges, pivoting the sewing machine foot if necessary.
8. Trim your seam allowances close to your stitching taking care not to snip through any stitches. Snip into the curved edges, this helps the curves lay flat when we turn this piece through.

9. Turn the collar stand through to the right side and ease out the curves using your finger, a point-turner or knitting needle. Use lots of steam in your iron and press the collar stand away from the main collar making sure the raw edges of your collar stand meet and nothing is getting creased up on the underside.

Attaching your collar to your garment
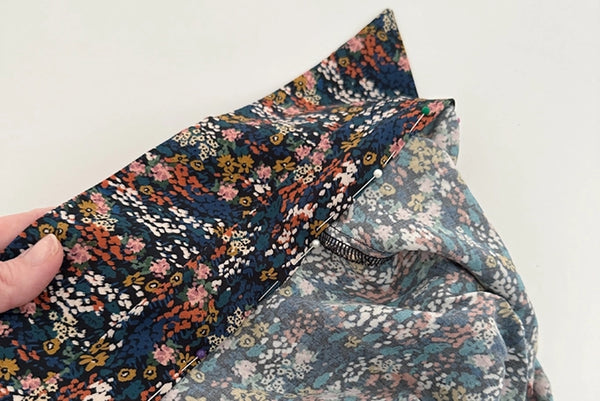
10. Take your main garment and pin the interfaced outer collar stand along the neckline with the right sides together. The ends of the collar stand will usually match up with the ends of your button band or neckline edge (refer to your pattern instructions to confirm this as garment types will vary). Pin along the neckline edge matching notches where necessary.
TIP: If you find that either your collar stand piece or garment neckline seems too large to match up, this could mean your fabric has stretched slightly. Take your time pinning and ease the two fabrics together smoothing them along with your fingertips until they lie flat.
11. Carefully sew the outer collar stand into your garment. Sew slowly, ensuring that your inner collar stand is well out of the way and that everything is lying flat on the underside as you go.
TIP: If you find there are any puckers after you’ve stitched, you can carefully unpick those areas, smooth them out and re-sew them.
12. Press the seam allowances up into the collar stand and, from the right side, press the stand away from your garment. Press the raw edge of your inner collar stand under by the required seam allowance and pin the pressed edge over the stitching line we’ve just sewn. The pressed edge should extend a couple of millimetres to cover the stitching line. This will make it easier to catch the fabric when you come to secure the inner collar stand next.
13. From the right side of your collar, stitch ‘in the ditch’ directly along the seam line of the outer collar stand making sure that as you go, you’re catching the inner collar stand on the underside. This can be tricky to do so slow down and take your time, carefully removing your pins as you go.

If you find that any parts of your inner collar haven’t caught, you can go back and either machine or hand stitch these in place.
Give everything a good press and admire your wonderfully smart-looking collar on a stand! I hope you found that wasn’t as scary as you might have thought, it’s all about slowing down, taking your time and enjoying the process!
Thank you for reading and happy sewing!
Sally x
Sally Gauntlett
@secret_life_of_a_seamstress
www.secretlifeofaseamstress.co.uk